")
How to Clean System Junk Files Without Using Third-Party Software
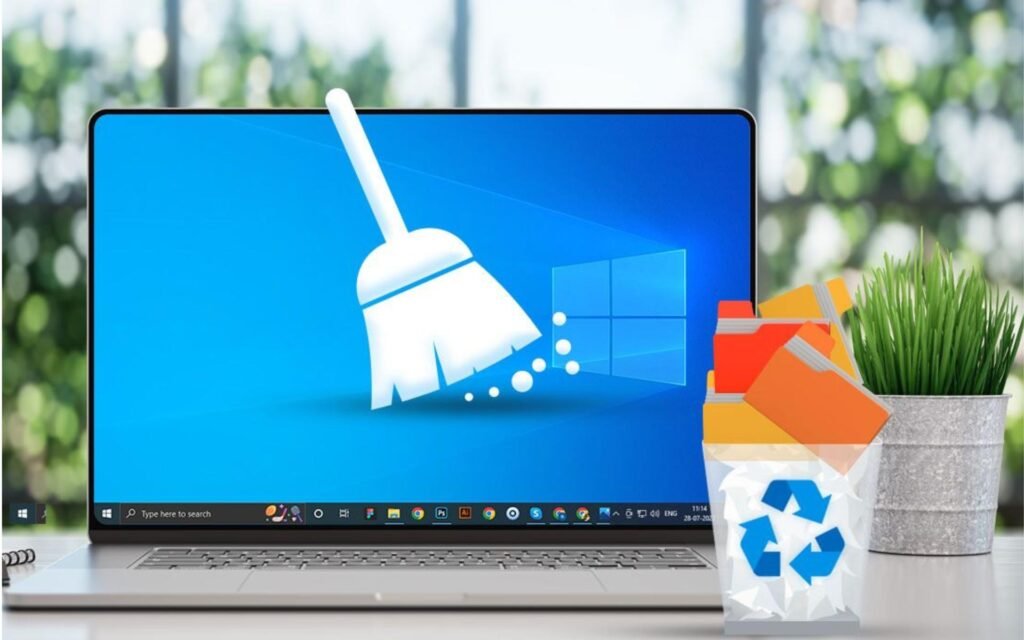
Introduction: Why Cleaning System Junk Files Matters
Every time you browse the internet, install apps, or update your operating system, your computer creates temporary files, caches, and logs. These files serve short-term purposes but accumulate over time, taking up valuable space on your hard drive and slowing down performance.
While many people turn to third-party cleaning tools, not everyone prefers them due to privacy concerns, subscription costs, or potential software conflicts. Fortunately, both Windows and macOS offer built-in tools to safely clean junk files — no additional software needed.
In this detailed guide, we’ll explore step-by-step methods to clean your computer system manually, remove unnecessary files, and improve speed — all without relying on external programs.
Understanding System Junk Files
Before cleaning, it’s important to understand what junk files are. These are unnecessary files that accumulate during regular computer use. Common types include:
- Temporary files: Created during installations or updates.
- System cache: Used for faster access to recent data.
- Log files: Records of system events that grow over time.
- Browser cache: Stores website data for quick loading.
- Old backups: Outdated system restore points or backup copies.
Although individually small, together these files can take up several gigabytes of disk space. Over time, this buildup can lead to slow performance, lag, and even system errors.
Cleaning Junk Files on Windows (Without Third-Party Software)
Windows provides powerful built-in tools to clean up unnecessary files safely. Let’s look at the most effective ones.
1. Use Disk Cleanup Tool
The Disk Cleanup utility is one of Windows’ oldest and most trusted built-in tools for deleting unnecessary files.
Steps to Use Disk Cleanup:
- Press Windows + S and search for Disk Cleanup.
- Select the drive you want to clean (usually C:).
- The tool will scan your system for removable files.
- Check boxes for items like:
- Temporary Internet Files
- System Cache
- Recycle Bin
- Delivery Optimization Files
- Click OK, then Delete Files to confirm.
For deeper cleaning, click Clean up system files to include Windows update leftovers and old restore points.
Result: You can often free several gigabytes of space instantly without affecting system performance.
2. Clear Temporary Files Manually
Windows stores temporary files in specific folders that you can clear manually.
Steps:
- Press Windows + R to open the Run dialog.
- Type
%temp%and press Enter. - Select all files (Ctrl + A) and delete them.
- Repeat the process for the
C:\Windows\Tempfolder.
If some files cannot be deleted, they are likely in use by active programs — skip them.
Tip: This method is completely safe and often frees up hundreds of megabytes of unnecessary clutter.
3. Clear System Restore and Shadow Copies
Windows automatically creates restore points to revert system changes. However, older restore points can occupy several gigabytes of disk space.
Steps:
- Search for System Protection in the Start menu.
- Select your system drive and click Configure.
- Click Delete to remove all previous restore points.
You can then create a new restore point manually to ensure you still have a safety backup.
4. Empty the Recycle Bin
Many users forget to empty the Recycle Bin after deleting files. Files remain there indefinitely until removed.
Steps:
- Right-click the Recycle Bin icon on your desktop.
- Select Empty Recycle Bin.
- Confirm deletion.
This simple step often frees several gigabytes, especially for users handling large video or photo files.
5. Use Storage Sense
Windows 10 and 11 introduced Storage Sense, an automated feature that cleans temporary files and manages storage efficiently.
Steps:
- Open Settings → System → Storage.
- Enable Storage Sense.
- Click Configure Storage Sense or run it now.
- Choose when it should delete temporary files, downloads, and Recycle Bin contents.
Storage Sense ensures your system remains clutter-free without manual intervention.
Cleaning Junk Files on macOS (Without Third-Party Software)
macOS also includes several inbuilt utilities and shortcuts to remove unnecessary files safely. Let’s explore these.
1. Use the Manage Storage Tool
macOS provides a straightforward built-in tool for reviewing and removing large or unused files.
Steps:
- Click the Apple logo in the top-left corner.
- Select About This Mac → Storage → Manage.
- Review recommendations under:
- Store in iCloud
- Optimize Storage
- Empty Trash Automatically
- Reduce Clutter
Click on “Review Files” to manually delete old documents, applications, and downloads.
2. Clear Cache Folders
Cache files improve performance by storing temporary data, but over time they can grow large.
Steps to Clear Cache on macOS:
- Open Finder → Go → Go to Folder.
- Type
~/Library/Cachesand press Enter. - Open each folder and delete unnecessary cache files.
- Repeat the process for
/Library/Caches(requires admin rights).
Be careful not to delete system-critical files. Focus on app-specific cache folders like browsers or media players.
3. Delete Old iOS Backups
If you’ve ever connected your iPhone or iPad, backups may be stored locally and take up huge space.
Steps:
- Go to Finder → Manage Backups (or iTunes → Preferences → Devices on older macOS versions).
- Review backups and delete old or unnecessary ones.
This can reclaim several gigabytes of storage in seconds.
4. Empty the Trash
Just like Windows, files remain in Trash until permanently deleted.
Steps:
- Right-click the Trash icon on your dock.
- Select Empty Trash.
For automatic cleaning, enable Empty Trash Automatically under Storage Management settings.
5. Clear Browser Data
Whether you use Safari, Chrome, or Firefox, cached pages and cookies can slow browsing and take up disk space.
Steps for Safari:
- Open Safari → Preferences → Privacy → Manage Website Data.
- Click Remove All to clear cache and cookies.
Steps for Chrome or Firefox:
- Open Settings → Privacy → Clear Browsing Data.
Cleaning browser data can dramatically improve performance and free valuable space.
Additional Tips for Both Windows and macOS
1. Organize Files and Folders
Move large media files (videos, photos, and backups) to external drives or cloud storage services like Google Drive, OneDrive, or iCloud.
2. Regular Maintenance Schedule
Set a reminder to clean your system every 2–3 weeks to prevent junk buildup.
3. Avoid Random Deletions
Never delete system folders or files unless you’re sure of their purpose. Deleting the wrong file may cause system instability.
4. Monitor Storage Regularly
Keep an eye on disk usage through the built-in Storage Settings. It helps track which categories consume the most space.
Why You Should Avoid Overusing Third-Party Cleaners
While third-party tools claim to clean deeply, they can sometimes:
- Delete critical files or registry entries.
- Install unnecessary software or adware.
- Require paid upgrades for full features.
Manual cleaning using built-in tools is safer, transparent, and completely free. It gives you full control over what’s being removed.
The Benefits of Manual Junk Cleaning
- Improved Performance: Faster boot and application loading times.
- More Storage Space: Frees up gigabytes without touching important files.
- Longer System Lifespan: Prevents overheating and component stress.
- Better Stability: Reduces crashes caused by system clutter.
- Enhanced Privacy: Deletes temporary browser and system traces.
A clean computer runs efficiently, helping you work smarter and faster.
Final Thoughts
You don’t need complex software or expensive subscriptions to keep your computer clean and fast. Both Windows and macOS include powerful built-in tools that can effectively handle system junk.
By using Disk Cleanup, Storage Sense, or Manage Storage, and regularly clearing temporary files, cache, and backups, you can maintain your computer’s performance and extend its lifespan.
If you’re a business professional or IT team looking for ready-to-use, optimized laptops, desktops, or MacBooks, check out Rental Plaza. We provide high-performance IT equipment rentals across India, ensuring top-speed systems for your projects — without clutter or slowdown.

